Sewing Pattern
Beginner’s Patchwork Quilt
Patchwork & Quilting Quilts
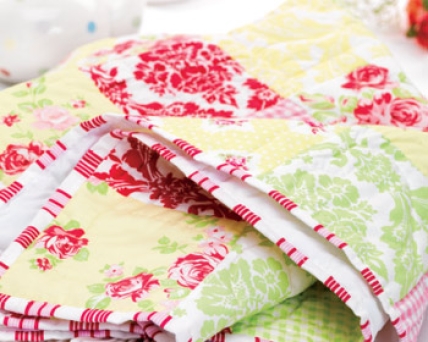
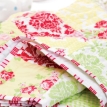
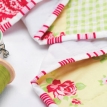
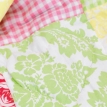
This gorgeous quilt from designer Corinne Bradd is the ideal starting point for those who haven’t tried quilting before – or have only undertaken smaller patchworking projects such as bags and pillows. Hand stitched from a combination of colourful cottons, it features a motif made from hearts, squares and stripes.
Essentials
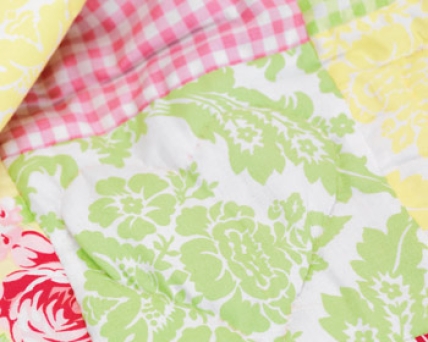
- Fabric: Tanya Whelan Grand Revival cotton, prewashed, nine different prints, 16cm x 110cm of each; white cotton, 90cm x 115cm
- Quilt wadding: 90cm x 115cm
Dimensions List
- Finished quilt: 84cm x 110cm
Make a Pretty Lap Quilt
Pick a striped cotton fabric to use as the edging of the quilt and set aside for later use. Cut the remaining eight cotton prints into 15cm squares. Arrange your squares into your preferred placement, or alternatively follow our chart.
Lay out the first row of fabric squares, and pin them together to create a strip, 90cm long. Using a 1cm seam allowance, sew the squares together with a straight machine stitch. Press on the reverse to set the stitches and flatten the raw edges. Repeat to create the remaining seven rows of squares.
Pin the rows of squares together in the preferred order to create the quilt front. Using a 1cm seam allowance and a straight machine stitch, sew along the pinned edges, ensuring that the seams between each square line up accurately for a neat finish. Press the back of the fabric as before, then turn over and press the quilt front on the right side.
Lay the 90cm x 115cm white cotton rectangle out on a large work area or clean floor and place the wadding (also 90cm x 115cm) on top of it, aligning them exactly. Lay the ironed quilt top over the wadding with right sides up and pin into place, starting from the centre and working out, smoothing the fabric as you go. Pin all around the edges of the quilt top before trimming away the excess wadding and white cotton.
Add Binding
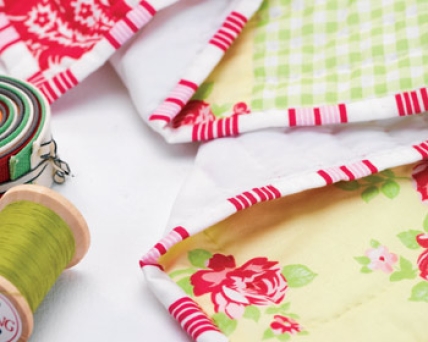
Cut the striped fabric strip into four long 4cm wide pieces. Stitch the short ends of the pieces together, to make a continuous length of binding. Cut two pieces from the strip, each measuring 4cm more than the long edges of the quilt. Stitch into place, right sides together, along each long edge of the quilt using a 1cm seam allowance. Press to set the stitches.
Cut the remaining binding into two pieces, measuring 4cm longer than the short edges of the quilt. Stitch into place but avoid sewing over the pieces of binding already in place along the two longer edges.
Press all edges, then fold under the four unstitched corners to create a mitre on each, hand stitch into place. Press 1cm under on the raw edge of the binding, all the way around the quilt. Fold the binding over the raw edge of the quilt and slip stitch into place, following the machine sewn line from the initial binding placement and mitring the corners.
Hand Quilt the Project
Whilst the quilt is still pinned together, hand sew along each seam between the squares and along the border with a neat running stitch, working through all layers. Begin in the middle of the quilt and sew out from the centre to ensure the wadding is evenly distributed under the quilt top.
Remove all pins and begin hand-quilting each individual square with parallel lines, concentric squares or a heart shape, following our chart. To make the process easier, create a card template. Download the template of the Sew Pull-Out Workbook, and cut out the appropriate template. Glue the shape onto a piece of card and re-cut.
Place the cardboard template onto the square you want to stitch and trace around it with tailor’s chalk where necessary. Work a small hand running stitch over the motif until finished, working through all layers. Ensure all loose ends of thread are trimmed and lightly press the entire quilt on the wrong side.


