Sewing Pattern
Kids’ Apron and Hat Set
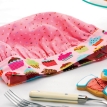
We all know that kids love baking, so why not treat the miniature masterchefs in your life to a funky apron and hat set? Not only is this a great project for beginners and afternoon stitching, but it can be easily customised for little boys (and grown-ups too) using their favourite colours and prints!
Essentials
- Fabric: printed cotton, white, 30cm x 60cm; printed cotton, cakes on cream background, 30cm x 60cm, sprinkles on pink background, 60cm x 110cm; cakes on pink background, 25cm x 110cm
- Fusible interfacing, lightweight, 5cm x 60cm
Dimensions List
- Apron: 36.5cm x 68cm (excluding ties)
- Hat: 18cm x 28cm
Make an Apron
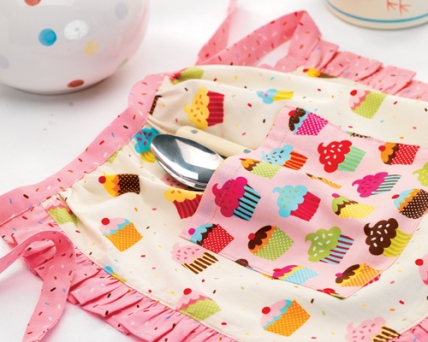
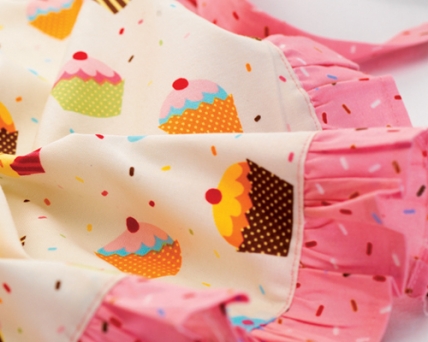
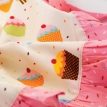
Place a 30cm x 60cm rectangle of plain cotton onto a piece of cream cupcake printed fabric of the same size with wrong sides facing. Align the edges, then pin the shapes together.
Create a curve at each bottom corner by drawing around a small plate and cutting along the curved lines. Separate the two layers to give you a front panel and the lining for the apron.
Cut two 5cm x 110cm strips from pink sprinkles fabric. Stitch them together end to end to create one long piece, then press a 7mm hem along one long edge and sew into place.
Machine sew along the unhemmed edge in a long straight line, leaving a 5mm seam allowance.
Pull the bottom thread to gather up the strip evenly, then fasten off when the gathered strip is approximately 120cm long.
Pin the gathered strip to the sides and bottom edge of the printed apron panel, with right sides facing, and aligning the raw edges, then sew together with a 5mm seam allowance.
Press the seam towards the centre of the apron so the gathers lay flat, then pin the plain fabric to the back of the apron.
Fold a 5mm hem along the sides and bottom edges of the apron, then pin and oversew to the existing seam line, covering all the raw edges. Press both layers.
Secure the top edge with a long straight stitch as before, then gather up the top edge until it is approximately 40cm wide excluding the ends of the edging frill.
Add Ties and a Pocket
Cut a 6cm x 110cm length of sprinkle fabric. Fold in half lengthways and press. Turn in 5mm on both raw edges and press again.
Pin the centre of the strip to the top of the apron, sandwiching the raw edges inside the centre fold.
Pin the rest of the length in place, working from the centre out on each side and incorporating the raw edge of the frill at each end.
Continue pinning the folded strip to itself to make the apron ties, folding in the ends neatly. Stitch the whole length to join the strip to the apron.
Make a pocket by cutting a 16cm x 18cm rectangle from contrasting material. Hem the top edge, fold in the other three sides and press. Pin and stitch the pocket to the apron to finish.
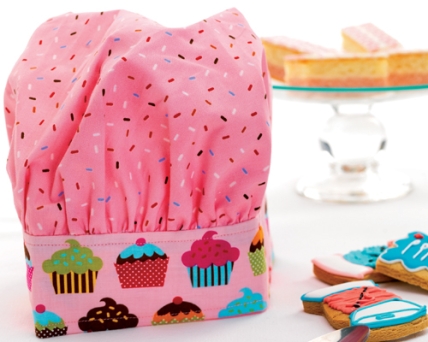
Create a Chef’s Hat
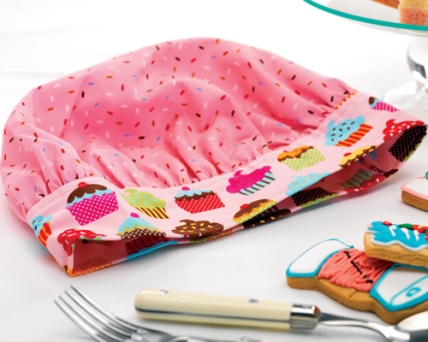
Cut a circle from sprinkle printed fabric with a 45cm diameter, then sew around the entire circumference in long straight stitch, sewing 5mm in from the edge.
Pull the lower thread to gather the circle evenly so that it is approximately 56cm in diameter (or the size of your child’s head) and fasten off.
Cut a 15cm x 60cm strip of cake printed fabric with a pink background to make the band. Fold in half lengthways and press.
Fix a piece of interfacing to the wrong side of the fabric with an iron lining up one edge to the pressed fold.
Fold in the raw edges to the width of the interfacing and press. Open out the fabric and tack the top long edge to the base of the gathered circle, right sides together and ensuring the print is the correct way up.
Stitch the raw, short edges together. Refold the band and tack the folded edge to the inside of the hat, enclosing the raw gathered edge.
Stitch around the circumference of the band on the outside of the hat, 5mm from the folded edge.
Sew a line around the base of the hatband, 5mm from the edge, then remove the tacking stitches to finish.


