Sewing Pattern
Tilda Prints Ballerina Teddy Bear
Children Toys
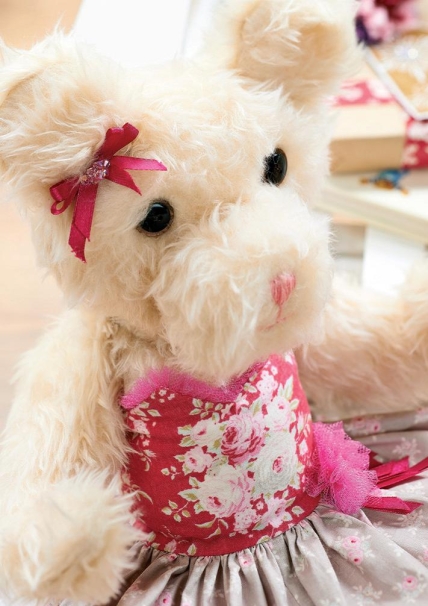
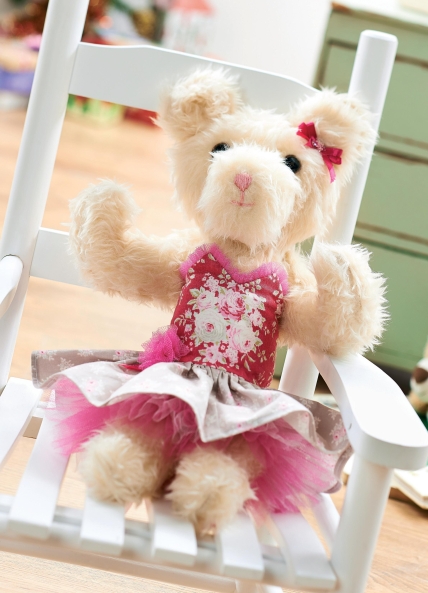
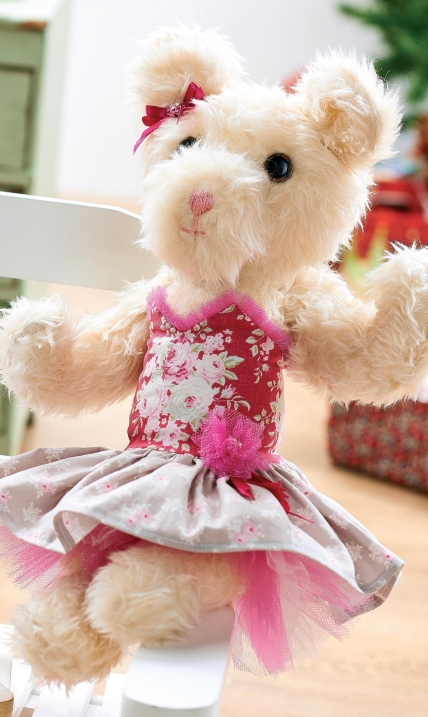
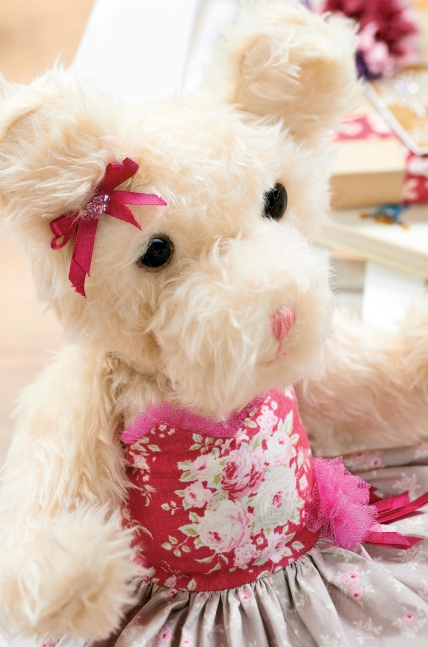
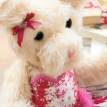
With her cuddly fur and pretty floral dress, little girls are sure to love this ballerina teddy. Designer Corinne Bradd has used lovely Tilda printed cottons and net fabric to create her adorable tutu which is removable. What’s more, the button jointed limbs mean teddy can be manipulated into arabesques until your little one’s heart’s content!
Essentials
- **Teddy**
- Fabric, fake fur, 50cm x 60cm
- Fibre filling
- Buttons: natural, 1.8cm, four; brown, 1.8cm, two; black, 1.2cm, two
- Thread: sewing, strong; embroidery, pink
- **Ballerina outfit**
- Fabric: floral prints, two, 24cm x 30cm; 12cm x 30cm; lining, 12cm x 30cm; dress net, three colours, 30cm x width
- Bias binding
- Ribbon, satin
- Beads, crystal
- Snap fasteners, two pairs
Dimensions List
- 17.3cm X 24cm
Stitch a teddy
Trace the templates located at www.sewmag.co.uk onto card and draw around them onto the back of fur fabric, leaving a minimum of 1cm gap between pieces. Ensure the pile of the fur runs in the correct direction. Cut around the pieces with a 5mm seam using a pair of small, sharp scissors. Keep the lower blade of the scissors as close to the base fabric as possible to avoid cutting through the fur itself.
Take a body piece and pin the top points A together, right sides facing. Stitch down from A to B to form a dart. Do the same at the bottom of the piece, pinning points C together and stitching from C to D. Repeat for the second body piece. Pin both darted body pieces right sides together, matching the darts. Sew around the shape using the drawn line as a guide and leaving a gap on the spine for turning.
Pin pairs of arms and legs right sides together. Sew around each pair leaving a gap at the back of each limb for turning. Clip all curves and turn out the limbs. Stuff each one firmly before folding in the raw edges of the gaps and over sewing closed. Use a blunt needle to pick out the fur fabric from the seams so the fluffiness hides the stitching.
Turn out the body pieces, stuff and sew up the back seam. Fluff out the fur along the seams as before. Pin the limbs to the shoulders and hips of the body. Use a double thickness of strong thread and a long needle to button joint the limbs to the body (see diagrams below).
Pair up the ears, right sides together and sew around the curved edge. Clip the curve and turn out through the gap at the bottom. Gather up the straight edge with running stitch. Pin each ear to one head piece on the marks. Line up the raw edges of the ears with the raw edge of the head fabric so the ear lays on the fabric. Place the second head piece over the top, right sides together. Stitch around the curve, securing the ears in place as you go. Clip the curves and turn out through the neck.
Fold in 5mm on the raw edge of the neck and tack down. Firmly stuff the head to within 1cm from the neck hole. Place the head over the top of the body, pin and mattress stitch the neck to the body with a double thickness of thread, leaving a 4cm opening at the back. Continue firmly stuffing the head and neck through the gap. Close up the gap and use a blunt needle to fluff out the fur from the seams.
Take the circle of fur fabric that makes up the muzzle. Use a double thickness of thread to gather around the circumference with running stitch and tighten to form a pouch. Stuff firmly and tighten the stitches further. Secure the stitching and pin the stuffed muzzle to the front of the head. Mattress stitch it in place. Use three strands of pink embroidery thread to sew a nose and mouth onto the front of the muzzle. Stack brown and black buttons together and stitch above the muzzle for eyes.
Make a ballerina outfit
Cut 12cm x 30cm of floral fabric and lining. Fold each piece in half, trace around the bodice pattern piece located at www.sewmag.co.ukand cut out, adding a 5mm seam allowance. Unfold the fabric and pin the pieces right sides together. Stitch around the shape leaving the bottom edge unsewn. Clip all curves and corners, turn the bodice right side out and press.
Cut 24cm x 30cm of contrasting floral fabric in half to make two pieces, 12cm by 30cm. Sew together on the short edge to make one continuous length. Turn up a 5mm double hem on one long edge and top stitch. Sew long running stitches along the opposite edge and gather up to approximately 32cm. Turn in 5mm at each end and pin. Pin and stitch the gathered side of the skirt to the outer layer bottom edge of the bodice, right sides together, matching the folded sides of the skirt to the back edge of the bodice.
Press the seam to hold the skirt down. Fold under 5mm on the bodice lining and slip stitch the hem over the raw edges at the top of the skirt. Sew up the back seam of the gathered skirt, stopping at the waistline. Hand stitch a pair of snap fasteners to the back edges of the bodice.
To finish, trim the top edge of the bodice with a narrow strip of net folded in half and gathered to create a frill. Hand sew in place with small stitches and matching coloured thread.
Sew a petticoat
Cut net fabric into three 10cm wide strips using pinking shears for a pretty edge. Layer the strips together, pin and gather along one long edge with running stitch to a width of 35cm.
Stitch a 8cm x 35cm piece of hemmed lining fabric to the gathered edge of the net. Top stitch along the seam to hold the net flat against the lining. Fold the petticoat in half right sides together and sew up the back seam.
Turn over a 1cm double hem at the top of the petticoat and top stitch, leaving a 2cm gap. Thread a length of thin elastic through the channel formed by the double hem. Pull tight enough to gather the waistband a little and knot.


