Sewing Pattern
Leather Wallet Phone Cover and Key Case
Accessories
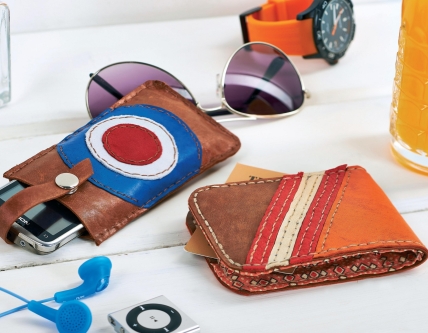
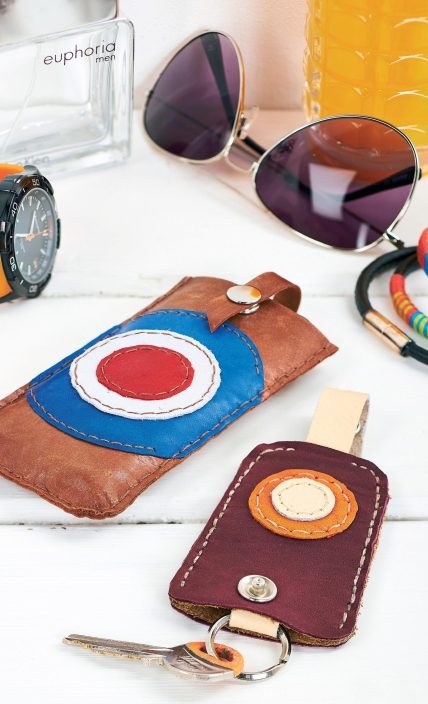
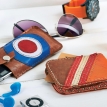
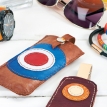
Combining traditional leather with retro motifs, this set is a fun way to keep those all-important items stored. Everything a man needs is covered with a card wallet, phone cover and key case. We’ve used a leather punch and artificial sinew thread to stitch them together, giving a neat and secure finish.
Essentials
- Fabric, cotton, patterned
- Leather hide, soft: brown; coloured, scraps
- Punch, leather, hand sewing
- Thread, artificial sinew or extra strong Needle, leather, hand sewing Clasps, snap, hammer fix Keyring finding, split ring Interfacing, fusible, lightweight Glue, PVA
- Circular items, three sizes Card
- Tape, fusible, hemming Knife, craft
Dimensions List
- Phone case: 6.5cm x 12.5cm
- Key case: 5.5cm x 9.5cm
- Card wallet: 8cm x 10.5cm
Make a phone case
Measure your phone and draw a rectangle onto scrap card, 2cm wider and 1cm longer. This will allow for the thickness of the phone. Round off the two lower corners and trace around this onto soft leather hide twice and cut out.
Cut a 1cm x 28cm strip of leather. Stitch one end to the centre back of one case panel so the rest of the strip extends from the rounded end of the rectangle. This piece is the front. Take the other rectangle and use a craft knife to cut a 1.2cm wide slit across the middle of the top flat side, 1.5cm from the edge. This is the back.
Use circular items as stencils to cut three concentric circles from coloured leather scraps, eg. red, white and blue. Use a little PVA glue to stick the small circle to the centre of the middle one. With a hand sewing leather punch, make a series of holes around the circumference of the red circle. Back stitch the two discs together with sinew or strong thread using the holes.
Adhere the sewn circles to the middle of the largest one and sew down as before. Glue the stack of circles on the centre of the front panel covering the strip’s stitches. Punch around the circumference and sew to the panel, avoiding catching the strip and trimming away any excess circle at the edges of the rectangle.
Attach half a hammer fix snap fastener to the centre top edge of the front panel, 1cm from the edge, with the fastening part facing out. Place the two panels together, right sides out and thread the end of the leather strip through the slit in the back panel from the inside out. Use bulldog clips or pegs to hold the two panels together.
Use the punch to make a series of holes around three sides (leaving the top clear), 3mm from the edge. Begin stitching the panels together with running stitch, use about half the thread before turning back and re-sewing through the holes in the opposite way so the seam looks neat on both sides. Make fastening knots discreet and if possible on the inside of the case.
Place the phone in the case, allow it to push the leather strip down. The strap should be long enough not to slip out of the slit. Once the phone is fully in the case, fold the end of the strip over the top and mark the position of the centre of the fastener. Fix the second half of the snap to the strip in this position and trim the end of the leather just below this.
Stitch a key case
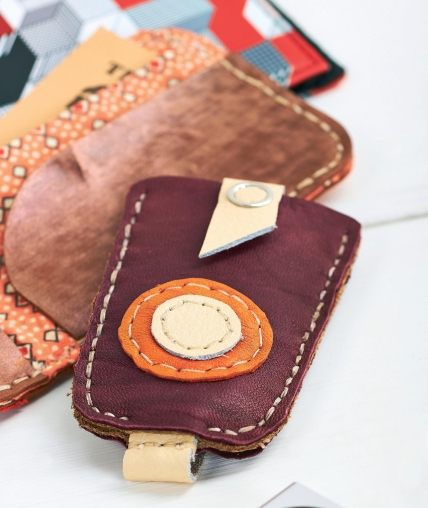
Download and print the templates for this project. Trace around the case template twice onto soft leather hide and cut out. Trim a strip of leather 1.5cm x 17cm. Cut two concentric circles from coloured leather scraps, 2cm and 3.5cm in diameter.
Glue the smaller circle to the centre of the larger and punch around the circumference to sew in place. Attach the circle to the top centre of one case panel and sew down as before. This is the front of the case.
Fix half a snap fastener to the middle of the wider turn over for more! edge of the front panel, 1cm from the edge with the fastening side facing out. Thread a split ring keyring finding onto the leather strap, fold 1.5cm of the strap over the ring and stitch to itself.
Lay the back panel face down, position the strap face up in the middle with the ring at the wider end and lay the front panel the same way. Peg together and punch along the sides, 3mm from the edge leaving the wider end clear and only punching up to the edges of the leather strap.
- Sew the panels together with running stitch in both directions as for the phone case. Pull the leather strap up so the keyring slips inside the case and stops at the top. Fold the leather strap around the back of the case and over the open wide end. Mark the position of the fastener and fix the second half to the strap so the fastening side is on the inside. Trim the excess.
Craft a card wallet
Use the wallet templates to cut shapes from leather and lightweight fusible interfacing. Press the interfacing shapes onto the reverse of printed cotton and cut out with a 1cm border all around each piece. Fold the curved edges of the fabric over the sides of the interfacing pieces and tack in place. Use fusible hemming tape to hold the straight edge of the wallet inner in place. Put these pieces to one side.
Cut a panel and three narrow strips of scrap coloured leather, following the image, and glue to the front of the leather outer panel. Punch a series of holes along the sides of each piece and back stitch to the outer one before trimming in line with the edges of the panel.
Lay the decorated outer panel face down, place the fabric lining face up on top. Add the fabric wallet inner face up and place the two leather inners on each side, the same way. Clip together with pegs or bulldog clips before punching holes through all layers, 3mm from the edge around all sides.
Use sinew or extra strong thread to sew running stitch through all layers. Pull the thread taut as you go to compress the layers. Sew back through with running stitch in the opposite direction so the seam looks neat from both sides. Fold the wallet in half and press under a heavy book for a day to create a crease.


