Sewing Pattern
Make embellished gloves
Accessories
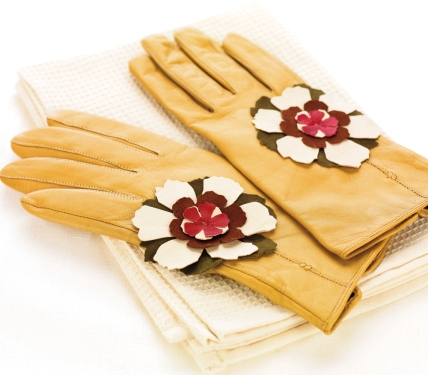
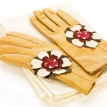
There's something very elegant about a beautifully gloved hand – they draw the eye away from the chapped lips and red noses of winter and make any outfit come together. Each of these project ideas has been secured to a pair of super-supple plain leather gloves with a minimum of stitches. We've tried to follow the original seams of the gloves so that the embellishments are easy to remove without damaging the leather surface. This way you can chop and change your look whenever you fancy.
Essentials
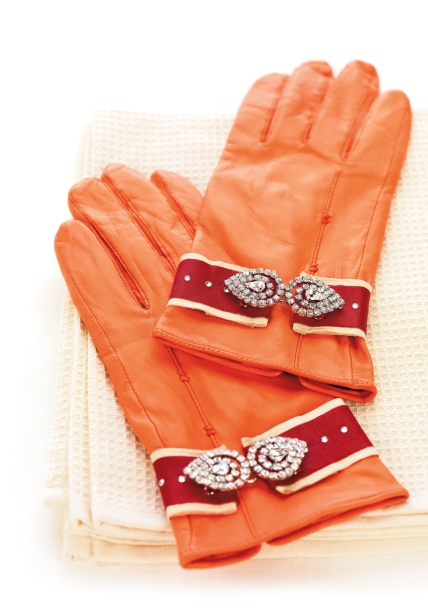
Wrist-detail gloves:
- Fabric: leather, scraps, two colours
- Gloves: leather, plain
- Gemstones: flat-backed, 3mm
- Diamanté clasps
- PVA Glue
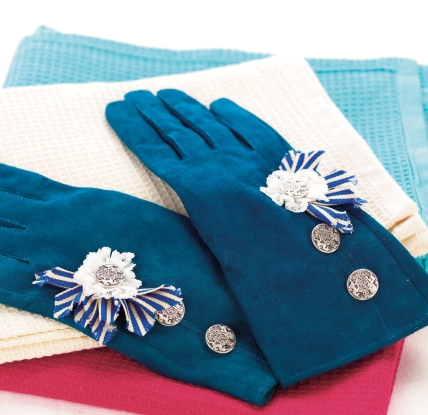
Ribbon gloves:
- Gloves: suede, plain
- Ribbon: grosgrain, 4cm wide, 50cm
- Lace: 3cm wide, white, 50cm
- Buttons: silver
Floral gloves:
- Fabric: leather, scraps, faded colours
- Gloves: leather, plain
- Sizzix Big Shot
- Sizzix die: Tattered Florals (656640)
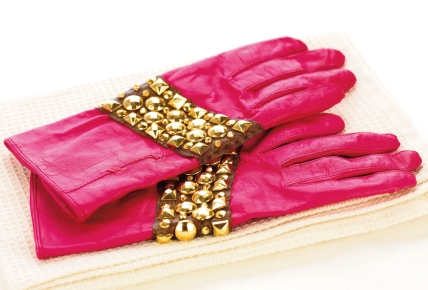
Studded gloves:
- Fabric: leather, large scrap, dark colour
- Gloves: leather, plain
- Studs: claw back, gold; 12mm round,
- 10mm square, 7mm round, 5mm round
Dimensions List
- This project is custom sized.
Make Wrist- Detail Gloves
Pick a pair of gloves to embellish. Place each glove on your hand and measure loosely around your wrist, allowing the end of the glove to gather slightly. Cut a 3.5cm wide strip of pale leather, making it 1cm longer than your wrist measurement.
Cut a second narrower strip of darker leather to the same length and spread a thin covering of PVA glue over the suede side of it. Allow the glue to go tacky before placing over the paler strip.
Fold under 5mm at either end of the bi-coloured strip and glue to neaten. Position one side of a diamanté clasp at the end of the strip so that the hook extends beyond the leather. Stitch in place with strong thread.
Place the other end of the clasp on the other end of the strip ensuring it will line up and allowing the eye to extend beyond the leather. Stitch in place.
Lay the strip flat and if the ends appear wrinkled where they are sewn, reinforce them with a rectangle of leather glued to the underside. Use a ruler to mark out 1cm intervals with a pencil down the centre of the strip. Glue flat backed gems to each pencil mark and leave to dry.
Place the glove on your hand and secure the strip around your wrist. Move the strip around until the clasp sits in a favoured position. Turn your hand over and mark the leather strip where it sits over the vent of the glove.
Remove the strip and glove, reposition the strip over the vent where it was marked. Stitch to the glove following the edge of the vent.
Create Ribbon Gloves
Cut a 12cm long piece of lace. If it is 3cm wide, fold it in half lengthways – if using a narrower lace cut a second piece and lay it over the top. Use white thread and running stitch to gather the folded edge of the lace into a neat rosette, oversewing the join.
Cut four 4cm lengths of wide striped ribbon. Fold each piece in half, edge to edge, and cut a point in one end so that when unfolded it forms a double point.
Concertina the other end of one ribbon piece and stitch to the centre of the lace rosette. Repeat for the other ribbons, stitching them in a fan shape behind the rosette.
Position the ribboned rosette on the back of the glove, over a seam if possible. Sew in place, using a silver shanked button to cover the rough centre of the rosette. Add two more buttons to the back of the glove, keeping them in line with the seam.
Stitch a Pair of Studded Gloves
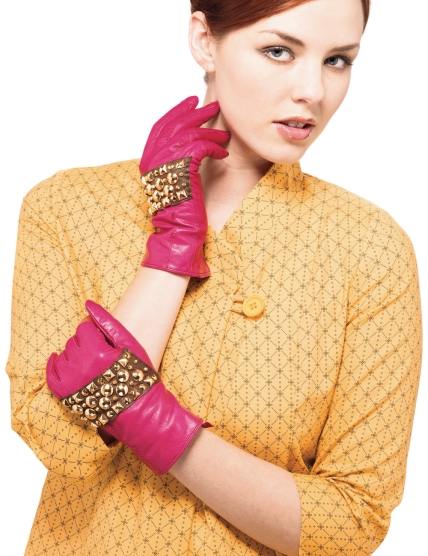
Cut the scrap leather into a 4cm wide strip. Fit the glove onto your hand and lay the strip over the back at a slight angle. Once you are happy with the way the strip looks use chalk to mark the edges of the strip where they meet the thumb seam and side seam.
Remove the glove, lay the leather strip back in position and sew in place using a small running stitch, following the lines of the seams. Once sewn in place trim the excess leather from the strip, approximately 2mm from the stitching.
Stitch the leather strip to the other glove in the same way and lay both gloves flat. Arrange an assortment of studs on the strip of one glove, moving them around until you are happy with the layout.
Keeping this glove as a guide, fix studs into the strip of the other glove, remembering to mirror the image. Take care not to pierce the glove itself with the studs, instead lift the unsewn long edge of the strip away from the glove when pushing the claws of the studs through. Push the claws flat to hold each stud in place.
Make a Pair Of Floral Gloves
Decide on the colour order that the leather scraps will go in - for example deep moss green, cream, russet, cream and red on a pale coloured glove, or a series of lighter colours for a deeper shade of glove.
Use a Sizzix Big Shot machine and a suitable die to cut pairs of flowers for each colour of leather scrap. Vary the size of flower so that they form an attractive arrangement when layered. Flip over the leather shapes to reveal the suede underside, which is often darker than the leather.
Place the flower layers on the back of the glove and sew in place using a few hand stitches in the very centre of the arrangement. It may be easier to push the needle through all the layers of leather with a thimble and then pull the needle out


