Already a member? Click here to Login





Safety Notice: Handmade items made from this pattern may contain small parts or long cords that pose choking or strangulation risks. Not suitable for children under 3 years. Please see the full safety disclaimer at sewmag.co.uk/safety.
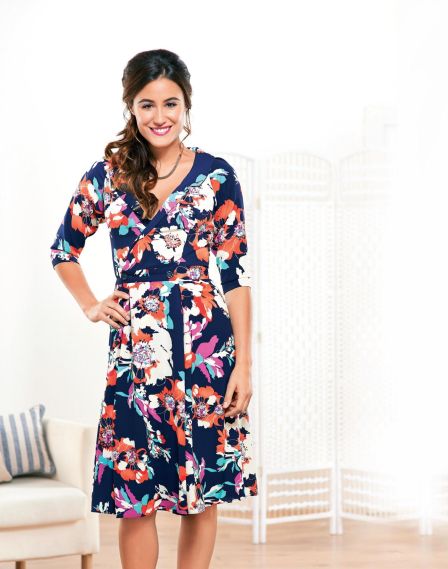
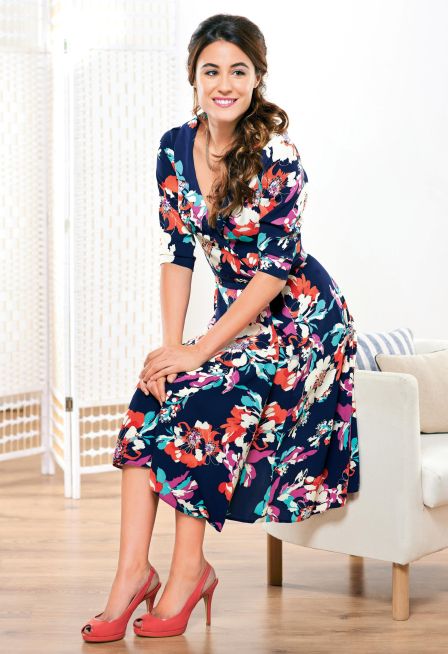
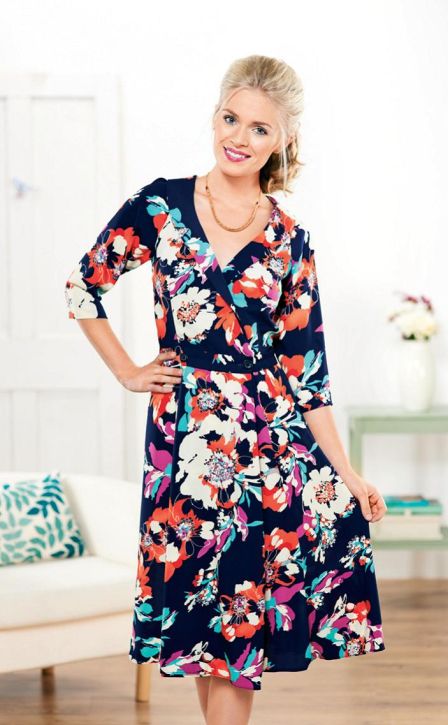
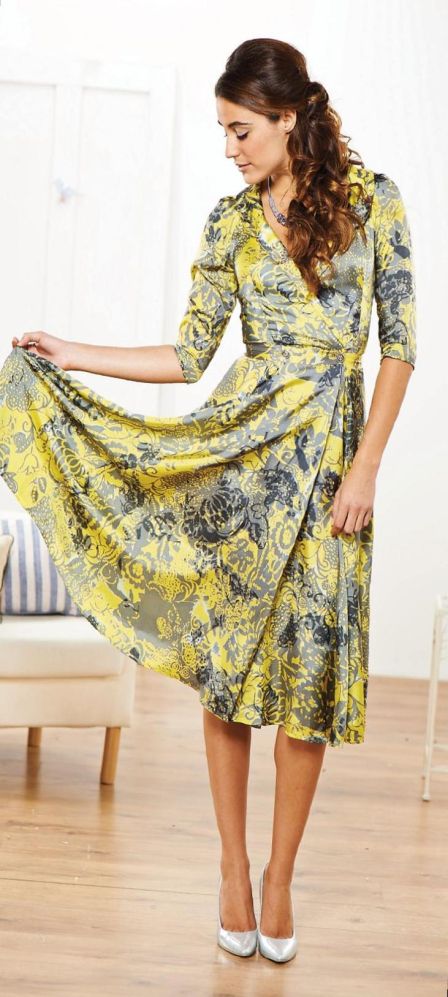
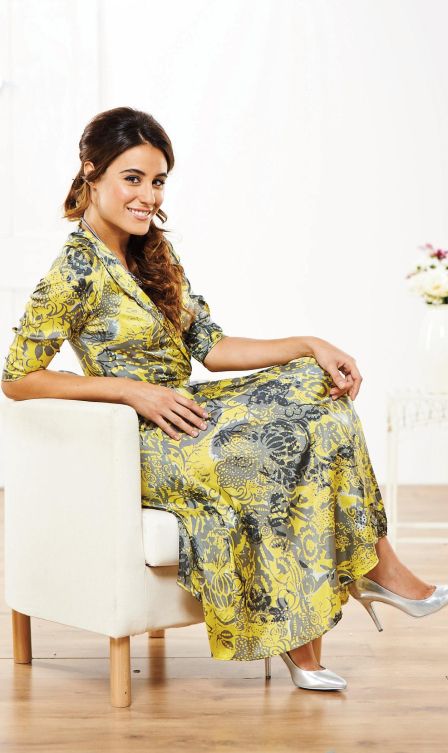
Step out this autumn in our ultra feminine wrap dress which features a fitted crossover bodice and a flowing below-knee skirt. The three-quarter length sleeves flatter arms and the bold floral prints are sure to turn heads. We've updated this Sew archive pattern with a striking John Kaldor polyester fabric which drapes beautifully. Alternatively, why not try a silky material like the one used for our archive dress to create an elegant swish when you walk?
Sew a wrap dress
Visit www.sewmag.co.uk and download the pattern. Print and piece together. Lay the pattern pieces onto fabric and cut out. Insert the darts by placing one set of the front bodice pieces with the wrong side uppermost and create the darts by aligning the notches and pinching the fabric to create a point. Pin in place. Working on the wrong side, sew along the length of the dart using a straight machine stitch, press to the centre and repeat for the other side. As this bodice is self-lined, you will need to repeat the insertion of darts with the second set of front bodice pieces; this will become the lining. Repeat the process to create the darts on the back bodice section, pressing the completed darts into the centre.
Prepare the collar. With one pair of collar sections placed wrong sides uppermost, fuse the interfacing to the pieces, which will become the underneath section of the collar. Place the two collar pieces right sides together and join at the centre back. Repeat the process with the remaining pair of collar pieces. Press the seams open. Place the two collars together with the right sides of the fabric facing. Pin the edges together and stitch around the outer edge using a straight machine stitch. Clip the V-shaped marking, turn through to the right side and press.
Join the shoulder seams. With one set of the front bodice pieces and back bodice piece placed with right sides together, align the shoulder seams and pin in place. With a straight machine stitch, join the two pieces along both shoulder sections and press the seams open.
Affix the lining with the back neck facing. With the bodice lining pieces (the remaining set of front bodice pieces) and the back neck facing placed with right sides together, pin along the shoulder seams. Join them together using a straight machine stitch.
Secure the neckline. Work a small neat line of stitching around the neckline and down the front bodice pieces, this will prevent the fabric from stretching. Repeat this process for the corresponding lining pieces.
Affix the collar. With the right sides facing, match the centre back neck of the collar and back bodice, pin around the neck and to the base of each front bodice. With a straight machine stitch attach the collar to the bodice.
Secure the bodice to the lining. Match the lining and the back neck facing to the bodice, aligning the shoulders together. Pin in place, ensuring that the collar is sandwiched in between the two layers, and secure with a straight machine stitch.
Neaten the neckline. Work around the neck edge to the base of the front edges with stay stitch. This will hold the shape of the neckline in place and prevent the lining from rolling out.
Create the side seams. Align the side seams together with right sides facing, the front bodice will have two layers of fabric and the back will have one. Work through all pieces of fabric down both sides with a straight machine stitch, trim the seam allowances to neaten and press the fabric.
Create the sleeves. With the sleeve section placed right side outermost, align the under arm seams and pin in place. Join to create the sleeve with a straight machine stitch, press open and turn through to the right side. Repeat for the second sleeve.
Insert the sleeve. Fold and pin the pleat at the top of the sleeve head. Work a line of gathering stitch around the head of the sleeve, just inside the 1.5cm seam allowance. Pull the threads lightly to enable the sleeve head to fit into the armhole. Pin in place and affix to the armhole using a straight machine stitch. Trim the seam allowance around the sleeve head to neaten, press and turn through.
Make up the skirt. With right sides facing, align the front two panels to the side panels and pin in place. Join the sections with a straight machine stitch. Next, align the side skirt sections to the back panel and pin in place. Use a straight machine stitch to join the sections. Trim the seams to neaten, press and turn through to the right side.
Create the skirt facings. Fuse the facing interfacing pieces to the edges of the front skirt panels, fold over to the wrong side, and press to neaten. These become front facings.

 Sign in with Facebook
 Sign in with Google