Sewing Pattern
Embroidered Travel Pouches
Accessories
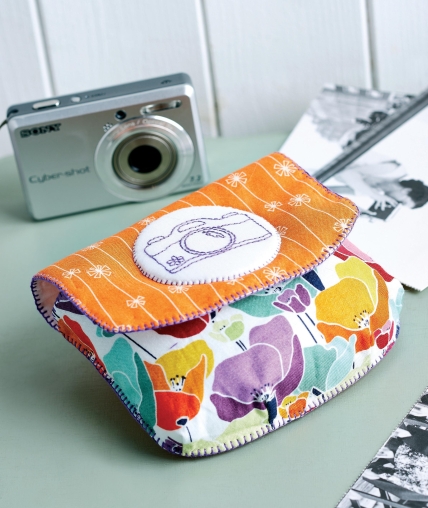
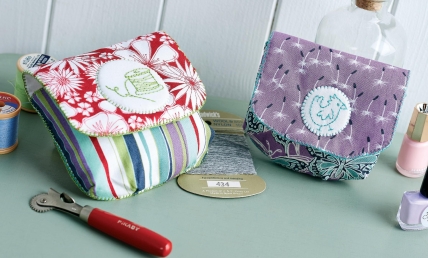
Whether you’re jetting off to the other side of the world or simply taking a trip to the British countryside, this handy pouch can be used to store all manner of travel essentials in one convenient place. Make the design your own by reducing or enlarging the pattern and experimenting with design ideas for the embroidered disk used to adorn the pouch.
Essentials
- Fabric, cotton: assorted prints; white Wadding, lightweight Thread: embroidery; sewing Felt, stiff
Dimensions List
- Custom-sized
Make a travel pouch
Make your pouch as big or as small as you like by enlarging or reducing the template before printing. Using the template, cut a pouch front and outer from printed fabric, lining and wadding, adding a 5mm seam allowance.
Place the outer wadding on a flat surface. Lay the printed fabric face up over this with the lining face down on top. Stitch around the edges with a 5mm seam allowance, leaving a 5cm gap along one straight edge.
Trim any excess wadding from the seam. Clip the curves and turn out so the wadding is sandwiched between the two fabrics. Sew up the gap using slip stitch and press the edges of the panel to neaten.
Take the three front pouch pieces and stitch the four dart sections right sides together on each piece. Layer as before and sew together, leaving a gap. Turn out, press and stitch up the opening.
Pin the pouch front to one end of the outer panel, right sides out. Sew the pieces together with small blanket stitch using two strands of embroidery thread. Stitch along the top edge of the pouch section and around the flap.
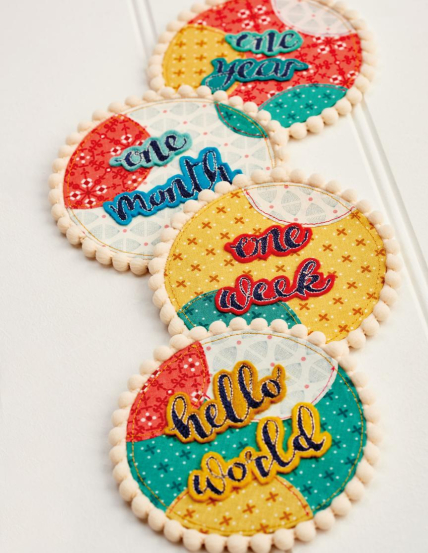
For the circular motif, trace your design onto plain cotton with a pencil and fit into an embroidery hoop. Cut a circle of stiff felt and pin behind the tracing so the design is central.
Use two strands of embroidery thread to back stitch along the pencil lines, working through the cotton and felt.
Remove from the frame and trim the cotton 2cm bigger than the felt circle all the way round. Gather the edges of the cotton with running stitch. Pull taut around the felt disc to make a neat finish and secure the stitching.
Pin the embroidery to the centre of the pouch flap and sew in place with a neat oversew stitch to finish.


