Sewing Pattern
Hand Embroidered Photo Album
Gifts Home makes Mothers Day
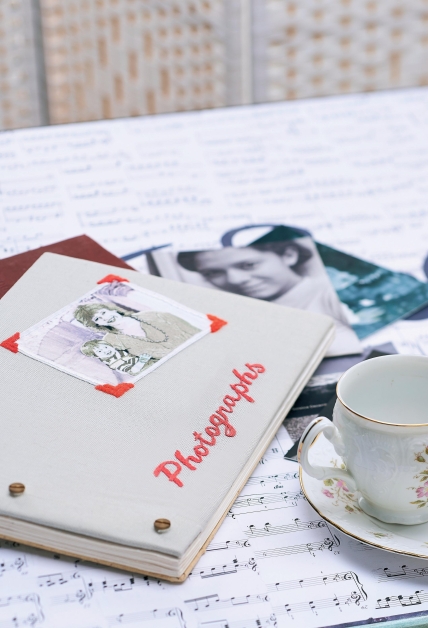
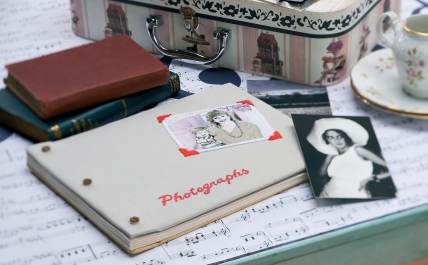
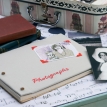
Fans of recycling will appreciate this album, constructed from paper and card, and finished with a hand-embroidered cover. Search out old family photos or use more recent ones converted to black and white. The stitch used throughout this project is split stitch, a centuries-old way of depicting pictures with thread, used on one of the most famous embroideries of all time: The Bayeux Tapestry.
Essentials
- Fabric, linen, grey, 29cm x 35cm
- Thread: embroidery, six-stranded, black; very dark grey; dark grey; mid-grey; light grey; very light grey; white; red; sewing, white
- Blumenthal PhotoFabric, cotton poplin, A4 sheet
- Wool felt, red, scraps
- Embroidery hoop
- Erasable pen or pencil
- Needle: crewel; sewing Cardboard, thick
- Paper, thick, 25-30 sheets Carpet tape, 5cm wide
- Bookbinding posts, brass, 3cm, three Hole punch
Dimensions List
- 21cm x 27.5cm
Make an album cover
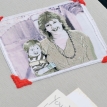
Photocopy or print your chosen photograph onto PhotoFabric, following the manufacturer’s instructions. Aim for a photo print of approximately 9cm x 11cm, including a narrow border.
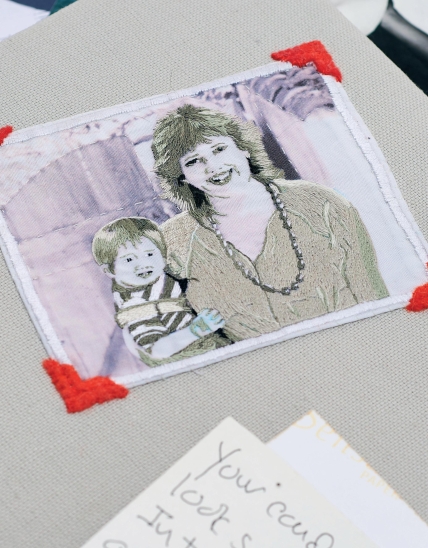
Peel off the backing paper and place the fabric in an embroidery hoop. Thread a crewel needle with two strands of embroidery thread. Working in split stitch, fill in larger areas with two strands of thread, matching the colour to the shade in the photo. When adding fine detail, use a single strand of thread.
When you’re happy with the embroidery, work a narrow border of satin stitch using two strands of white thread all around. Remove the fabric from the hoop, press lightly on the reverse, then trim to leave a border of fabric, 1cm wide. Fold this to the wrong side and press lightly on the reverse.
Download the ‘Photographs’ template. Trace the word and transfer it to linen fabric, positioning the baseline of the letters 7cm from the bottom edge of the fabric and the letter ‘P’ 10cm from the left side edge. Place the fabric in an embroidery hoop and fill in the lettering in split stitch, using two strands of red thread. Remove the fabric from the hoop and press lightly on the reverse.
Position the embroidered photograph on the linen and pin in place, turning under the raw edges of the fabric. There is a 4cm allowance all round for turnings, so make sure your photo is well within this margin. Using white sewing thread, slip stitch the folded edges of the embroidered photo to the linen fabric. To secure the embroidery to the backing material, work lines of running stitch across the background of the image, taking the needle through all thicknesses of fabric.
Cut four right-angled triangles from red felt, which are 1.5cm along each of the short edges. Snip a triangular notch in the centre of the longer edge on each to form the shape of photo corners. With a single strand of red thread, slip stitch around the edges of each of these felt pieces, then sew a line of back stitch down the centre of each one.
Create the album
Cut a 21cm x 27.2cm rectangle from thick cardboard, another measuring 21cm x 24cm and a third measuring 3cm x 21cm. Punch three holes, evenly spaced, on the smallest strip of cardboard. Place the two smaller pieces on top of the largest piece. With the edges aligned, mark the positions of the punched holes on the largest piece by drawing through the holes you have already made. There should be a 2mm gap between the top two pieces of cardboard. Place a 21cm length of carpet tape along this gap, to join the two pieces together and to form a hinge.
The joined section will form the front of the album. Put the largest piece aside – this will form the back of the album. Cut 21cm x 27.2cm of lightweight wadding and place on top of the cardboard, then put the prepared linen cover on top of this. Fold under 4cm of the linen fabric to the wrong side of the cardboard and lace the edges together or use fabric glue to stick them down. Cut 19cm x 25cm of thick paper and glue to the inside of the cover. Punch holes, where marked, on the back cover of the album.
Take off the screw caps from three brass posts and push each of them up through the punched holes in the back of the album. Cut paper pages to the same size and punch holes in each one, then slip these over the brass posts. You may wish to cut paper strips, 3cm x 21cm, and punch holes in these to slip them between each of the pages to allow room for multiple photos. When you have enough pages, pierce holes through the spine of the fabric cover, using a sharp implement such as a knitting needle, then place the cover over the brass posts and add the screw caps.


