- Use the menu navigation to browse the current content to find
what you are looking for - Try a new search term
- If you still can't find what you're looking for, feel free to contact us via email at webmaster@sewmag.co.uk
Recent Patterns
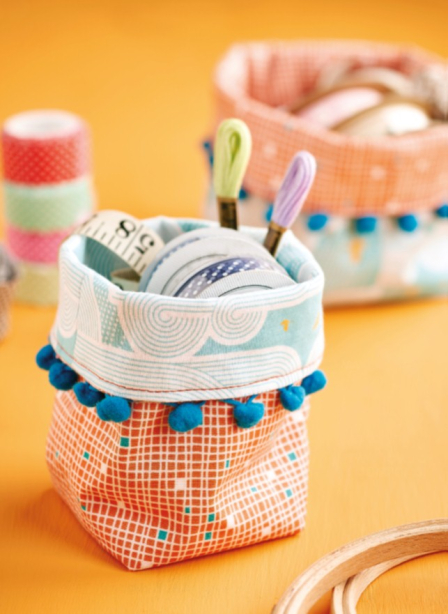
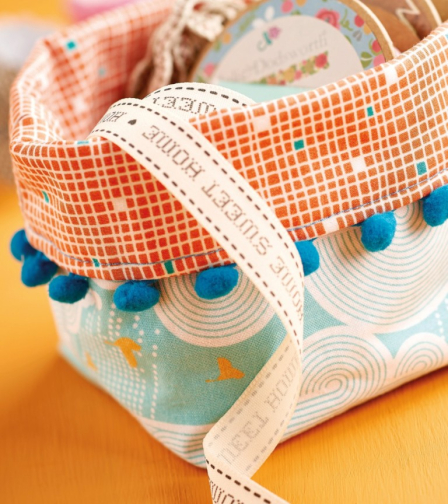


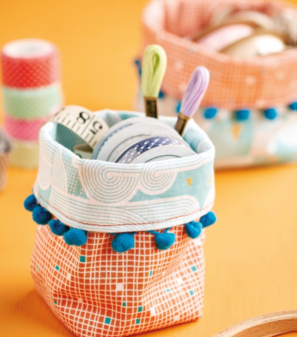
Simple Pom-Pom Pot Storage Sewing Pattern
Difficulty level
BeginnerPattern format
pdfDesigner
Corinne BraddSafety Notice: Handmade items may contain small parts or long cords that pose choking or strangulation risks. Not suitable for children under 3 years. See full safety disclaimer.
_448_510_s_c1.jpg)
_96_109_s_c1.jpg)
Embroidered Bug Box Frame Sewing Pattern
Difficulty level
IntermediatePattern format
pdfDesigner
Carolyn LettenSafety Notice: Handmade items may contain small parts or long cords that pose choking or strangulation risks. Not suitable for children under 3 years. See full safety disclaimer.
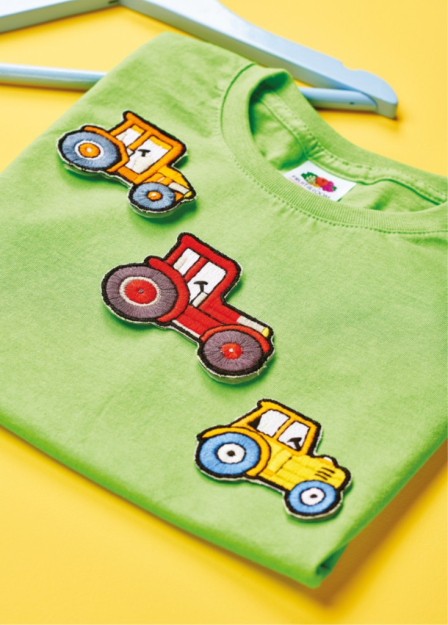

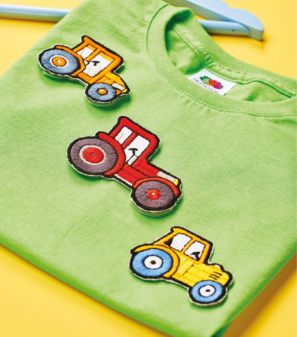
Children’s Iron-On Tractor Patches Sewing Pattern
Difficulty level
BeginnerPattern format
pdfDesigner
Susie JohnsSafety Notice: Handmade items may contain small parts or long cords that pose choking or strangulation risks. Not suitable for children under 3 years. See full safety disclaimer.

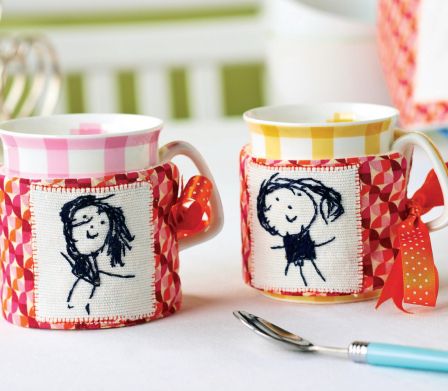


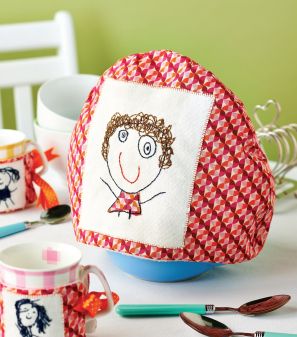
Children’s Drawing Tea and Mug Cosy Sewing Pattern
Difficulty level
IntermediatePattern format
pdfSize
Tea cosy: 23cm x 35cm Mug cosy: 8cm x 25cmDesigner
Sandra HamiltonSafety Notice: Handmade items may contain small parts or long cords that pose choking or strangulation risks. Not suitable for children under 3 years. See full safety disclaimer.
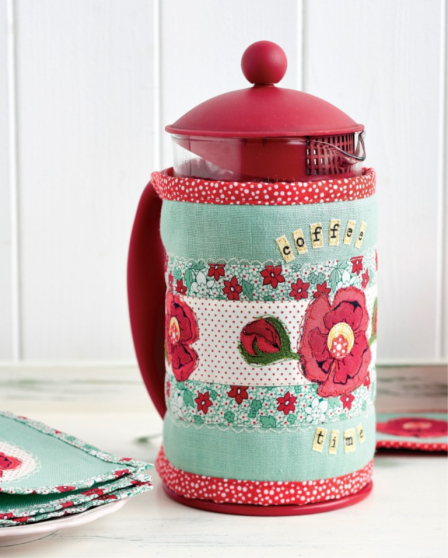
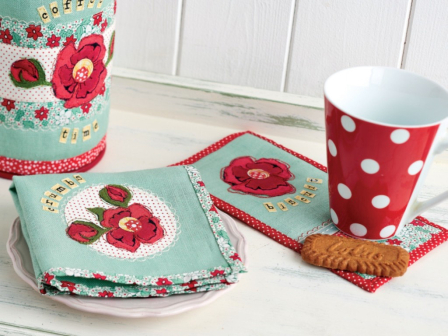


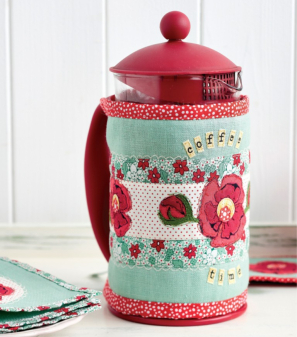
Floral Coffee Pot Cover Set Sewing Pattern
Difficulty level
IntermediatePattern format
pdfSize
Pot warmer: 16cm x 31cm Coaster: 10cm x 19.5cm Napkin: 26cm squareDesigner
Carolyn LettenSafety Notice: Handmade items may contain small parts or long cords that pose choking or strangulation risks. Not suitable for children under 3 years. See full safety disclaimer.

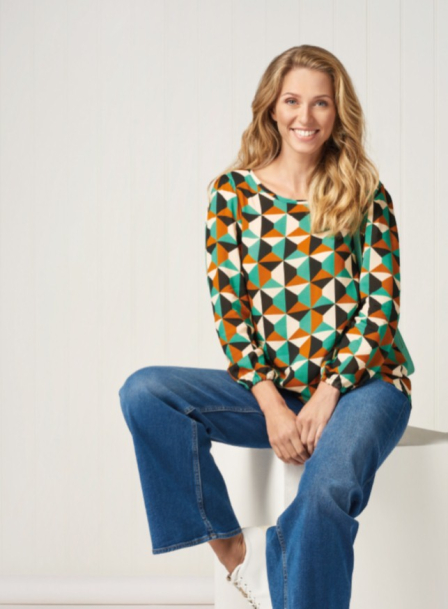


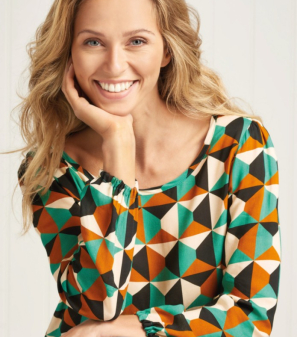
Simple Long Sleeve Blouse | Dressmaking Pattern
Difficulty level
BeginnerPattern format
pdfDesigner
Amanda WalkerSafety Notice: Handmade items may contain small parts or long cords that pose choking or strangulation risks. Not suitable for children under 3 years. See full safety disclaimer.


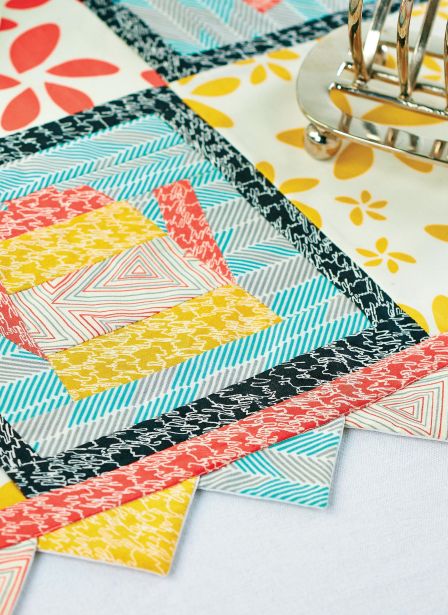


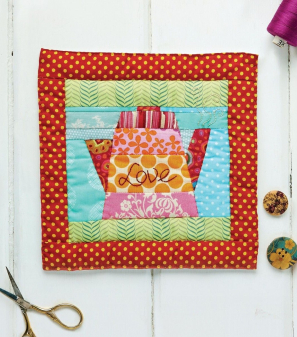
Coffee Pot Quilt Block Tutorial | Table Centrepiece
Difficulty level
BeginnerPattern format
pdfSize
Coffee pot block: 20cm square Table centrepiece: 60cm squareDesigner
Corinne BraddSafety Notice: Handmade items may contain small parts or long cords that pose choking or strangulation risks. Not suitable for children under 3 years. See full safety disclaimer.

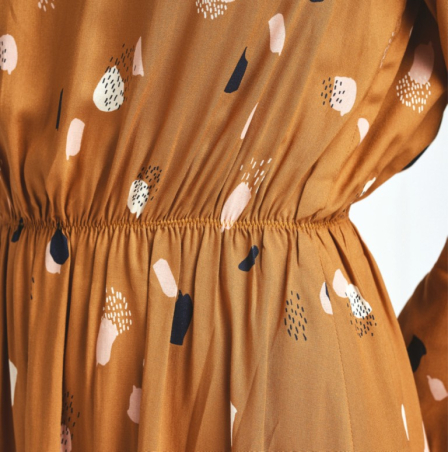


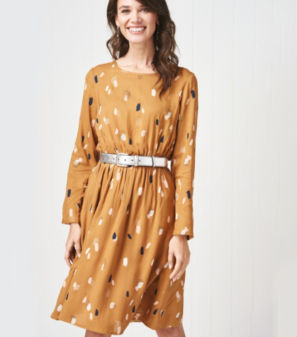
Dress With Elasticated Waist | Dressmaking Pattern
Difficulty level
IntermediatePattern format
pdfDesigner
Amanda WalkerSafety Notice: Handmade items may contain small parts or long cords that pose choking or strangulation risks. Not suitable for children under 3 years. See full safety disclaimer.

_297_337_s_c1.jpg)
