Already a member? Click here to Login


Safety Notice: Handmade items made from this pattern may contain small parts or long cords that pose choking or strangulation risks. Not suitable for children under 3 years. Please see the full safety disclaimer at sewmag.co.uk/safety.
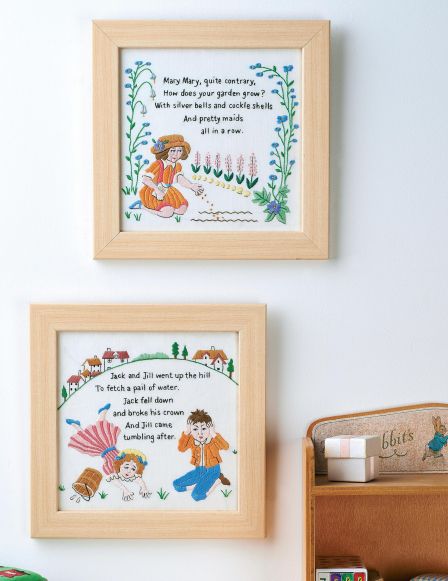
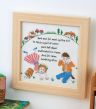
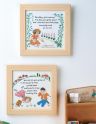
Traditional nursery rhymes have been around for centuries and still have a timeless appeal to children and parents alike. These pictures, simply framed, have a delightful vintage feel and would look lovely on a child’s bedroom wall. Though they require a bit of patience and dexterity, they can be stitched up in no time.
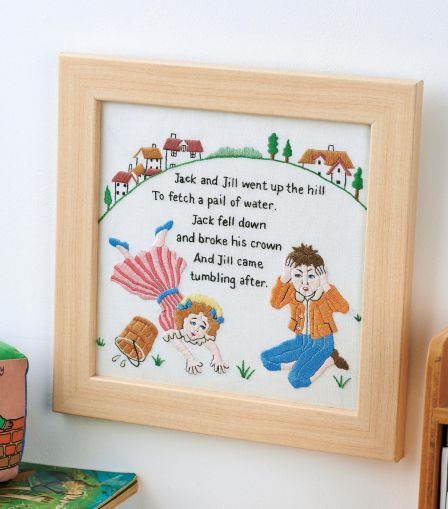
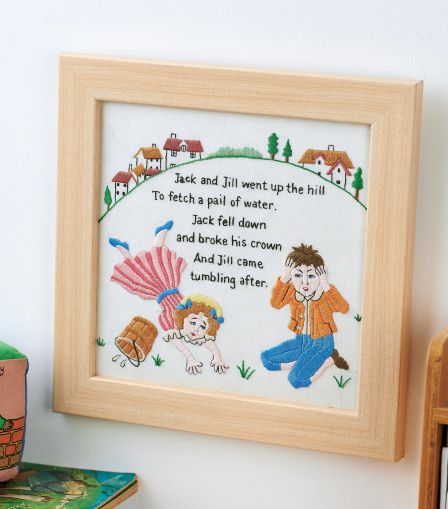
Stitch a Jack and Jill embroidery
Download and print the embroidery guides for this project. Trace the Jack and Jill motif to the centre of a 30cm square piece of cotton or linen. To transfer the design, trace it directly onto the fabric using an erasable pen. Alternatively, trace or photocopy it onto a piece of thin paper, go over the outline on the wrong side (mirror image) with a transfer pen, place the paper transfer side down on the right side of the fabric and press with a hot iron.
Place the fabric in an embroidery hoop and thread a crewel needle with two strands of dark brown thread. Embroider the words, using split stitch. For the grass, thread the needle with two strands of green and work each blade using stem stitch; do the same for the outline of the hill. For the houses, fill in the roof shapes with satin stitch and embroider the outlines of the houses and windows in backstitch, using a single strand of embroidery thread.
When embroidering a solid shape, it is easiest to begin in the centre and work outwards. Start with Jill’s face, filling in the shape but leaving the details of her features until later, then fill in the collar and hair, working outwards towards the hat. Next, do the bodice and sleeve of the dress, followed by the belt, skirt, legs and shoes. All areas of the design are filled with satin stitch.
When the main features have been completed, thread the needle with a single strand of dark brown thread and use this to outline some of the shapes with lines of backstitch, such as the hands and under the chin. For the facial features, use a single strand of thread. Use blue for the eyes, outlining in dark brown, and coral pink for the mouths.
When all the embroidery is complete, remove the fabric from the hoop and press lightly on the reverse. Trim the material to 26cm square, this allows for a border of fabric measuring 3cm. Place the embroidered fabric face down on the work surface, cut a square of wadding measuring 20cm and set it centrally on top, followed by a piece of thick cardboard on top of this.

 Sign in with Facebook
 Sign in with Google