Already a member? Click here to Login



Safety Notice: Handmade items made from this pattern may contain small parts or long cords that pose choking or strangulation risks. Not suitable for children under 3 years. Please see the full safety disclaimer at sewmag.co.uk/safety.
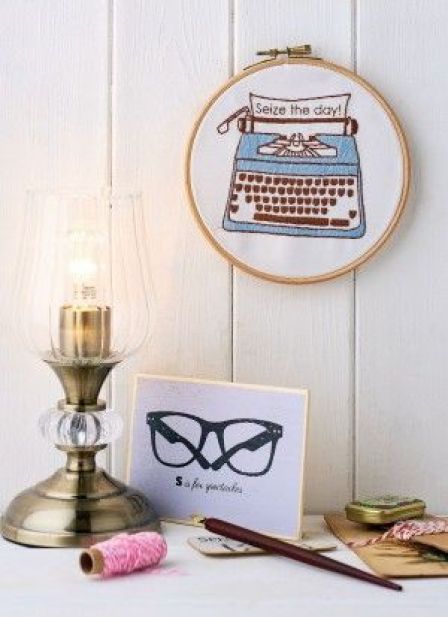
There was a time when embroidery was considered old-fashioned, but not any more! These days, having a motivational piece of stitched artwork on your wall is all the rage. This simple design only uses two stitches, satin and back stitch, so is suitable even for a novice embroiderer. Choose your own inspirational message or stick with ours and carpe diem!
stitch a wall hanging
1 Cut a 21cm x 30cm piece of plain fabric. Place carbon paper on top, coloured side down. Download and print the template, position over the carbon paper and draw over the design with a pencil, pressing firmly. Alternatively print the design from your computer straight onto printable fabric if you prefer.
2 Put the fabric in an embroidery hoop, making sure it’s taut - if it makes a sound like a drum when tapped in the middle, it’s tight enough. Trim the excess to 5cm all round. Thread a needle with three strands of your desired colour of thread. Making sure to secure the thread on the reverse of the fabric, work back stitch for the outline of the design and satin stitch for filling spaces. Back stitch is represented by a dashed line and satin stitch by parallel lines.
3 When you’ve finished embroidering, trim and tidy up the loose threads on the reverse of your design. Fold the excess fabric to the back of the frame, work tacking stitches around it and tie the ends together. This will allow you to tighten the fabric if it becomes loose in the frame.

 Sign in with Facebook
 Sign in with Google