Already a member? Click here to Login

Safety Notice: Handmade items made from this pattern may contain small parts or long cords that pose choking or strangulation risks. Not suitable for children under 3 years. Please see the full safety disclaimer at sewmag.co.uk/safety.
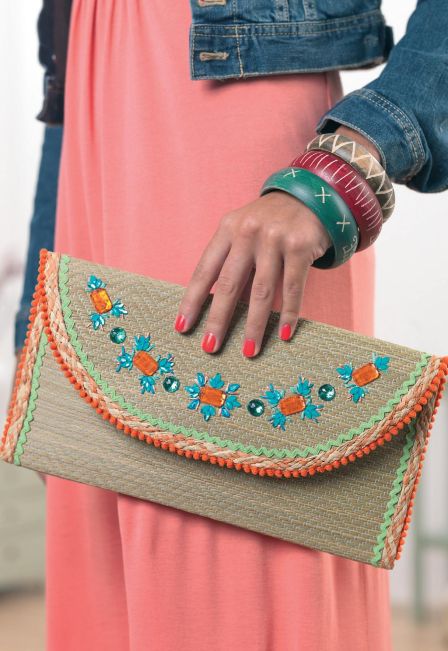
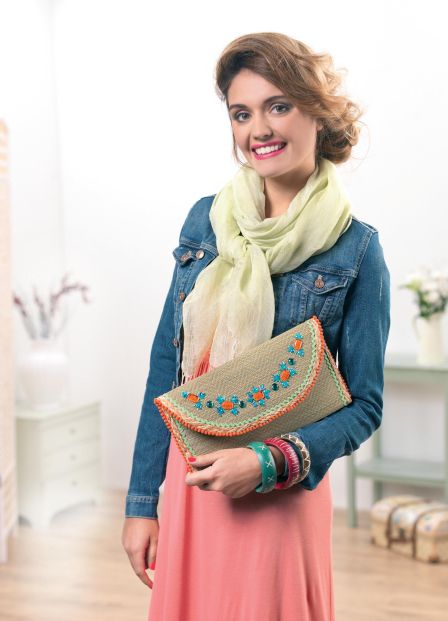
Transform a mundane table mat into a glamorous fifties-style bag with this nifty project. The straw base combined with retro stones and colourful trim makes this clutch an eye-catching piece, perfect for an evening on the town.
Make a bag
Place a dinner plate at one corner of a woven mat and draw around the curve. Do the same on the opposite corner, then carefully cut along the lines. Glue five orange gemstones around the edge of the flap, placing one in the centre and two on each side, at 3cm intervals. Add four green circles in the spaces between and turquoise sprays around them. Sew each gem down with matching thread once the glue is dry. Embellish the design with a few straight stitches of embroidery thread.
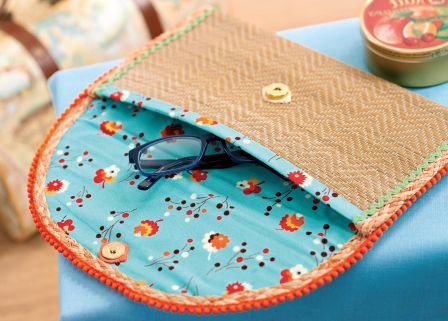
Press under a double 15mm hem along the shorter side of the patterned fabric. Run a glue stick around the outside edges of the mat and place it on the wrong side of the material so the hem lies over the straight end. Smooth into place and when dry, stitch the folded edge to the right side of the mat.
Fold a 1m length of woven braid in half and coat the inside lightly with glue. Starting at one straight corner and leaving a 4cm overlap, wrap it around the side and curved edges to conceal any existing binding and the raw edges of the fabric, then trim any excess. Stitch into place when the glue is dry. Stick a 1m length of ric rac just inside the braid in the same way.

 Sign in with Facebook
 Sign in with Google