Already a member? Click here to Login


Safety Notice: Handmade items made from this pattern may contain small parts or long cords that pose choking or strangulation risks. Not suitable for children under 3 years. Please see the full safety disclaimer at sewmag.co.uk/safety.
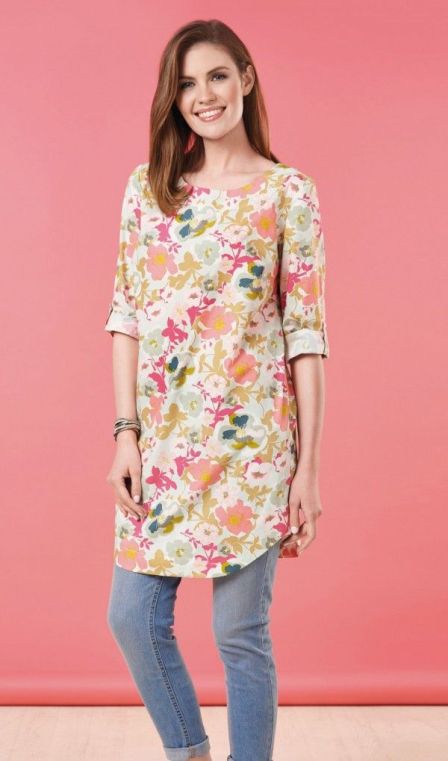
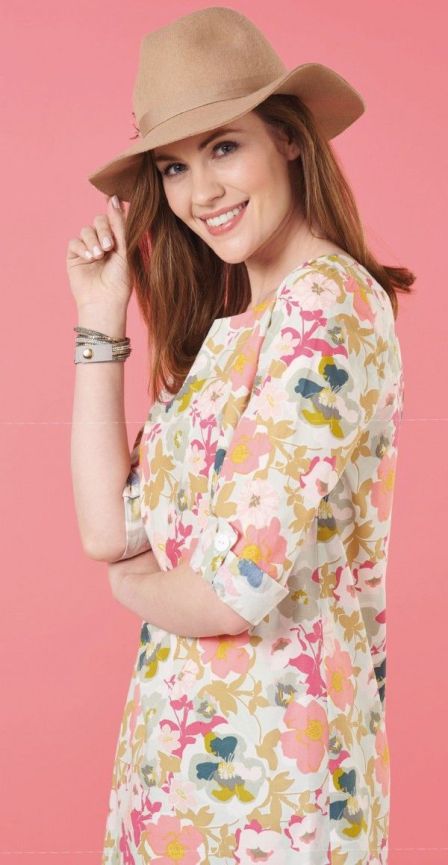
The simple silhouette of this outfit by Julia Claridge is ideal for spring and summer wardrobes. Sewn in a beautifully bold cotton print with a flattering curved hem, it is both easy to stitch and perfect for the season. This is a great first garment for novice stitchers – the cutting and construction are easy with just basic darts to master.
Cutting guide
Front: cut one on the fold
Back: cut one on the fold
Sleeve: cut one pair
Front neck facing: cut one on the fold
Back neck facing: cut one on the fold
Sleeve tab: cut two
Hem facing: cut two on the fold
1.5cm seam allowance used unless otherwise specified.
Sew a tunic
1 Download and print the pattern by clicking the button above. Cut out the pieces according to the cutting guide. Sew the bust darts marked on the front pattern piece and press downwards.
2 With right sides together, sew the shoulder seams and neaten the raw edges. Join the front and back neck facings, right sides together. Press the seam open. Overlock the outer edge or turn and press the raw edge in by 1cm and zig zag stitch.
3 Matching the shoulder seams, right sides together, pin and stitch the neck facing to the neck edge. Clip the curves. Understitch around the whole neck edge and press the facing to the inside. Pin the facing to the dress, tack, then stitch close to the outer edge of the facing.
4 Sew the sleeve tabs, right sides together, leaving one short end open for turning. Trim the corners, then turn right side out and press. Using tailor’s chalk, mark a buttonhole in the centre of the tab, then sew 1.5cm from the finished end.
5 Following the pattern markings, place the raw edge of the sleeve tab on the wrong side of the sleeve with the tab placed above the mark right side down. Sew 5mm away from the raw edge. Press the tab downwards just over 5mm and stitch again, in order to catch in the raw edge.
6 While the sleeve is flat, turn and press a 1.5cm double-folded hem at the cuff edge and leave unstitched. With right sides together, join the sleeve underarm seam, opening out the pressed hem, then neaten the raw edge. Sew two rows of long ease stitches on the sleeve head between the notches. Refold the cuff hem along the pressed lines and stitch.

 Sign in with Facebook
 Sign in with Google