Already a member? Click here to Login



Safety Notice: Handmade items made from this pattern may contain small parts or long cords that pose choking or strangulation risks. Not suitable for children under 3 years. Please see the full safety disclaimer at sewmag.co.uk/safety.
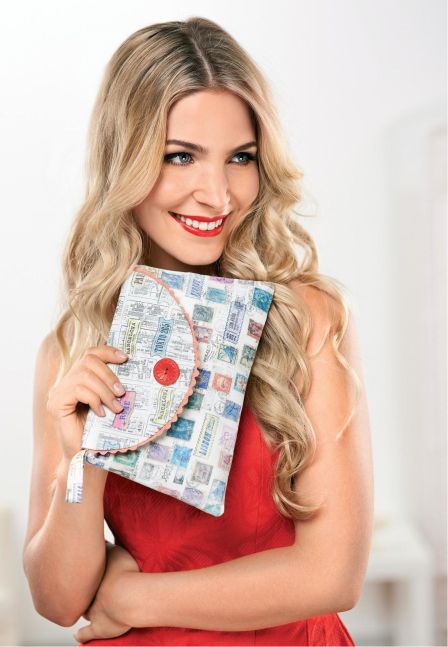
Have you ever wanted to make something for your wardrobe, only to find the fabric you have in mind is practically non-existent? Then why not create your own? Simply arm yourself with some cream cotton and a photocopier, and get creative! We love these travel-tastic designs, which we've used to make a trendy clutch bag.
Sew a clutch bag
Make two A3 collages of travel memorabilia – we made one from vintage-style travel tickets, and another from postage stamps. Wash, dry and iron cream cotton and divide into four A3 pieces. Spray four A3 sheets of paper with an even coat of adhesive spray and lay the cream cotton pieces onto each one, smoothing out any wrinkles. Ensure the fabric and paper line up, snipping any stray threads that could get caught in a printer.
With the fabric facing upwards, place one in a printing tray. Put one of the collages in the photocopier, face down. Photocopy the collage onto the fabric, using a darker setting than normal. Print out another one, then swap the collages over and print two more with the new motifs. Place each fabric piece between two tea towels and press on a hot setting to fix. Hold the iron for 60 seconds; don’t glide it over the fabric, as this can smear the ink.
Iron interfacing onto the back of each fabric. Download and print the templates for this project and pin one bag front, back and flap to the postage stamp fabric and cut out. Pin the templates for the other bag flap and entire lining to the travel ticket fabric, then cut. Place the bag flap over wadding and cut out the shape.
Pin the wadding to the wrong side of the travel ticket fabric and tack around the shape to hold the pieces together. Mark vertical lines on the right side and machine stitch using white thread. Lay the postage stamp flap on top of the bag front and, using the pattern as a guide, mark the position for a magnetic clasp and position in place. Pin ric rac to the inside curve of the quilted flap and tack in place.

 Sign in with Facebook
 Sign in with Google