
.png)
For your first month, then £9.99 a month
Perfect for newcomers
Cancel anytime
Get your first month for just £2.99!
£4.99 a month, pay annually
Great value
£59.99 paid annually
Save 60%
*Terms and conditions apply.
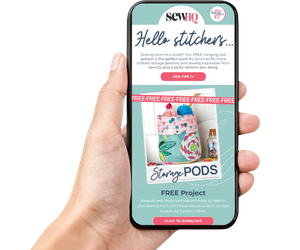
Huge savings & discounts directly from top sewing brands
Exclusive giveaways to win sewing goodies
Early access to projects delivered straight to your inbox


_297_337_s_c1.jpg "Button-Up Cami Sewing Pattern")
_448_671_s_c1.jpg "Button-Up Cami Sewing Pattern")
_448_671_s_c1.jpg "Button-Up Cami Sewing Pattern")
_448_672_s_c1.jpg "Button-Up Cami Sewing Pattern")
_96_144_s_c1.jpg "Button-Up Cami Sewing Pattern")
_96_144_s_c1.jpg "Button-Up Cami Sewing Pattern")
_96_144_s_c1.jpg "Button-Up Cami Sewing Pattern")


_297_337_s_c1.jpg "Frilled Halterneck Dress")
_448_671_s_c1.jpg "Frilled Halterneck Dress")
_448_671_s_c1.jpg "Frilled Halterneck Dress")
_448_671_s_c1.jpg "Frilled Halterneck Dress")
_96_144_s_c1.jpg "Frilled Halterneck Dress")
_96_144_s_c1.jpg "Frilled Halterneck Dress")
_96_144_s_c1.jpg "Frilled Halterneck Dress")


.jpg "Sewing_Bee_Banner_-_finale_compressed_(1).jpg")
